In September, as I wrapped up my talk at ReasonsTo, I announced to the audience that my personal goal for the coming year was to move my prototypes from a disarray of wires to something more permanent. To effectively draw a line under each and end with a Product.
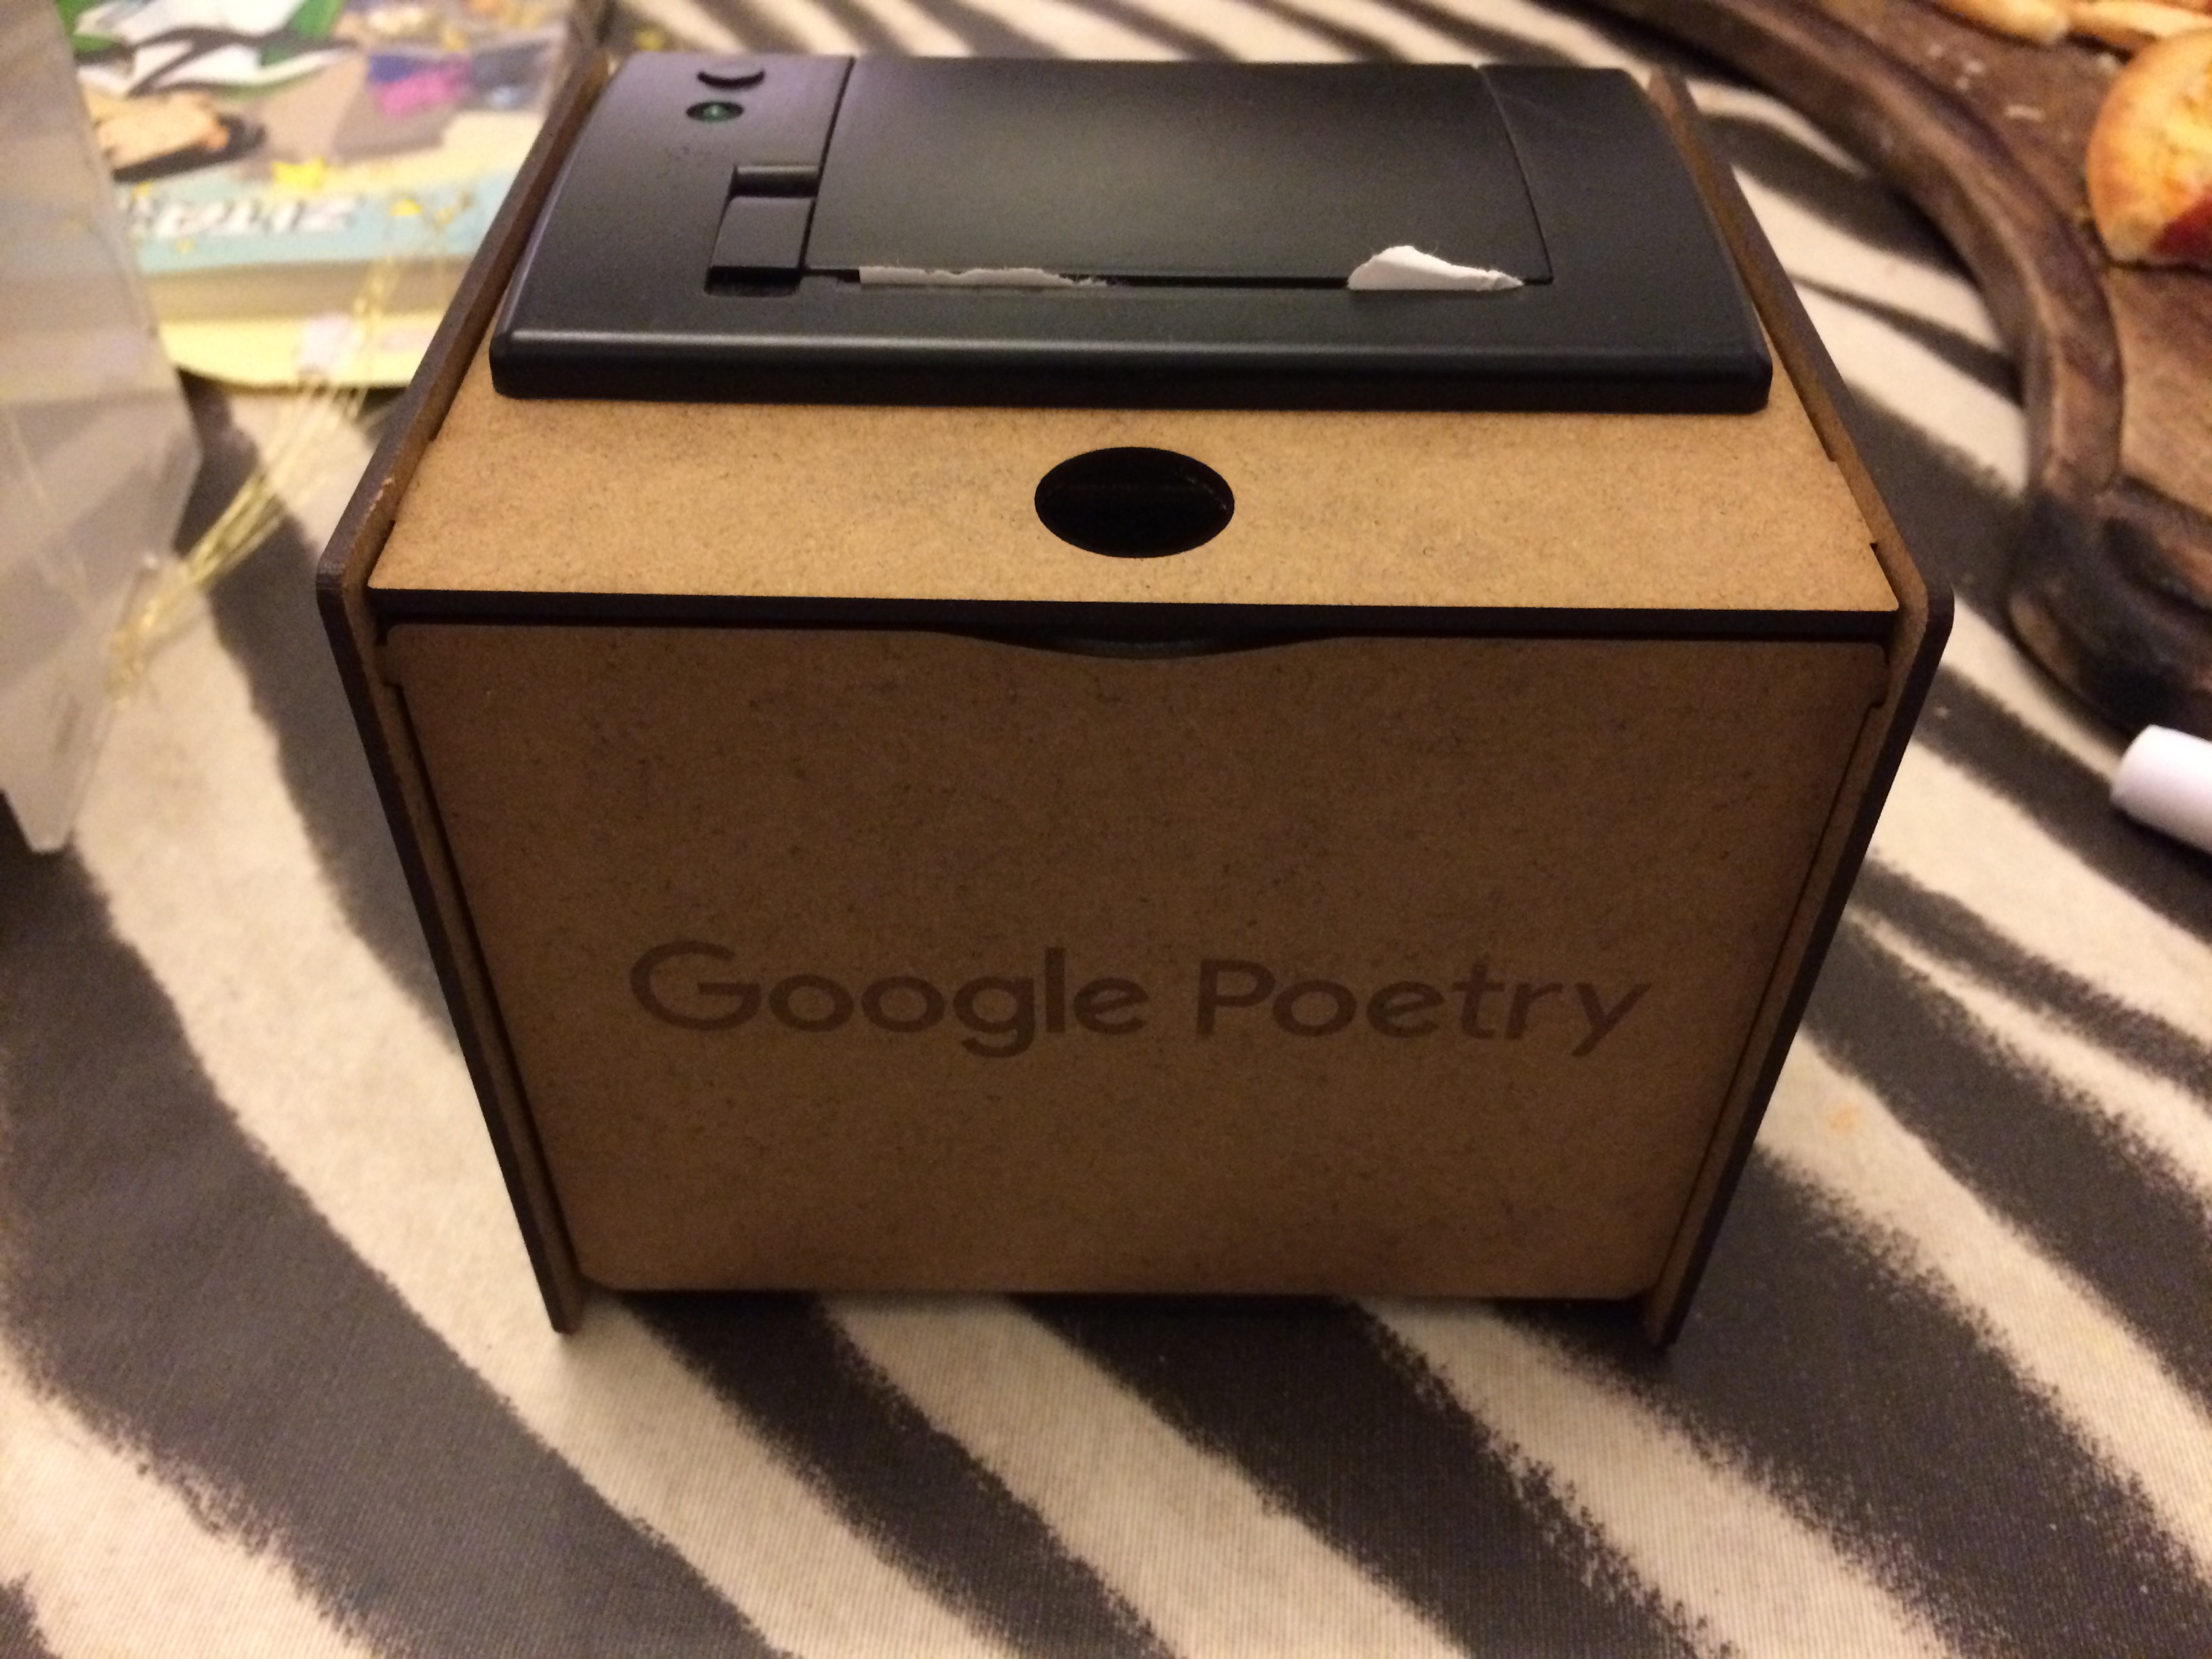
In October, I got that opportunity to begin that process. Together with a friend of mine, we laser-cut enclosures in both 3mm MDF and 2mm Perspex. The Google Poetry Printer is a project that I began a 3 years ago but it lacked ‘gallery ready’ product, rather it was a cardboard box with some wires in it, as the Arduino and Ethernet Shield had since been cannibalised for other projects.
I’ll be honest, as much as I have dabbled in 3D Printing, I was new to laser cutting. Although I had an awareness of desktop production processes, laser cutting and CNC are processes that I have shied away from, mainly due to the wallet-hitting mistakes that I assumed I would incur during the inevitable learning curve.
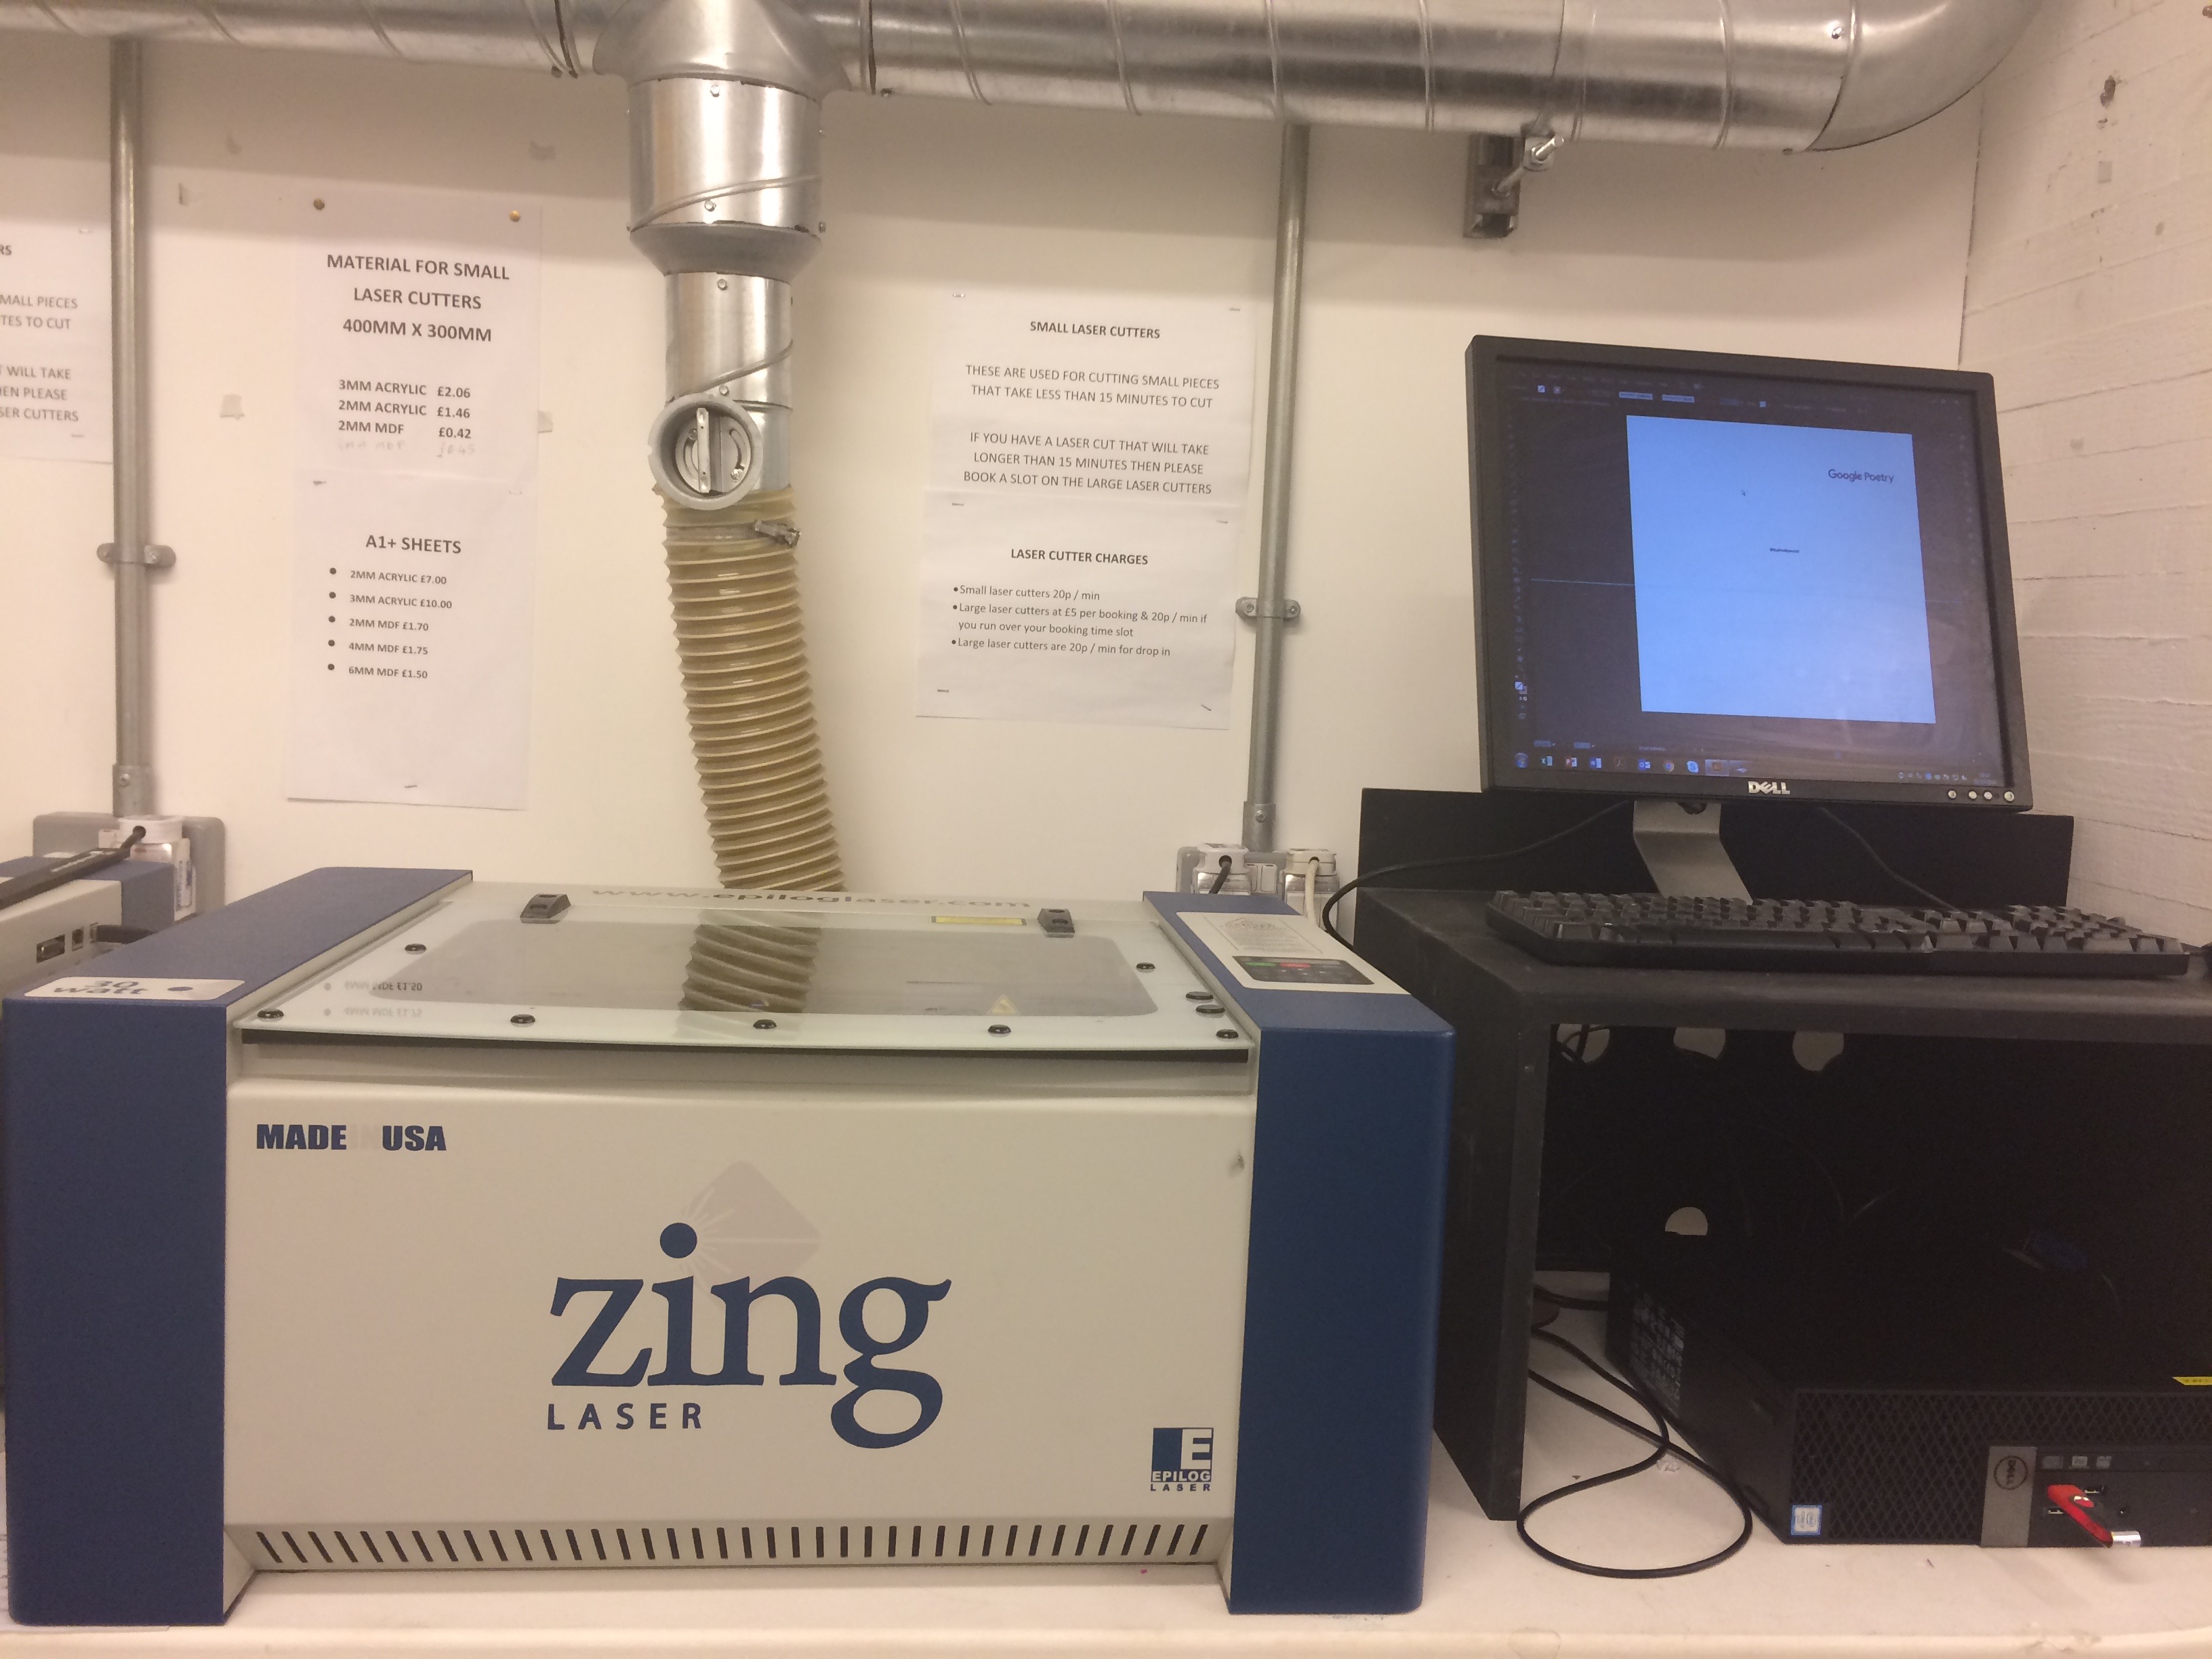
This was one of the reasons I opted for the Google Poetry Printer as my first foray in to this medium. There are many Thermal Printer projects scattered across the various Arduino blogs on the internet, and better yet there are even some on the very 3D Printing sites I use, in this case Thingiverse. It was a small matter to find one and make the necessary changes in Adobe Illustrator. The laser cutter reads EPS files, so this is 2 dimensional build.
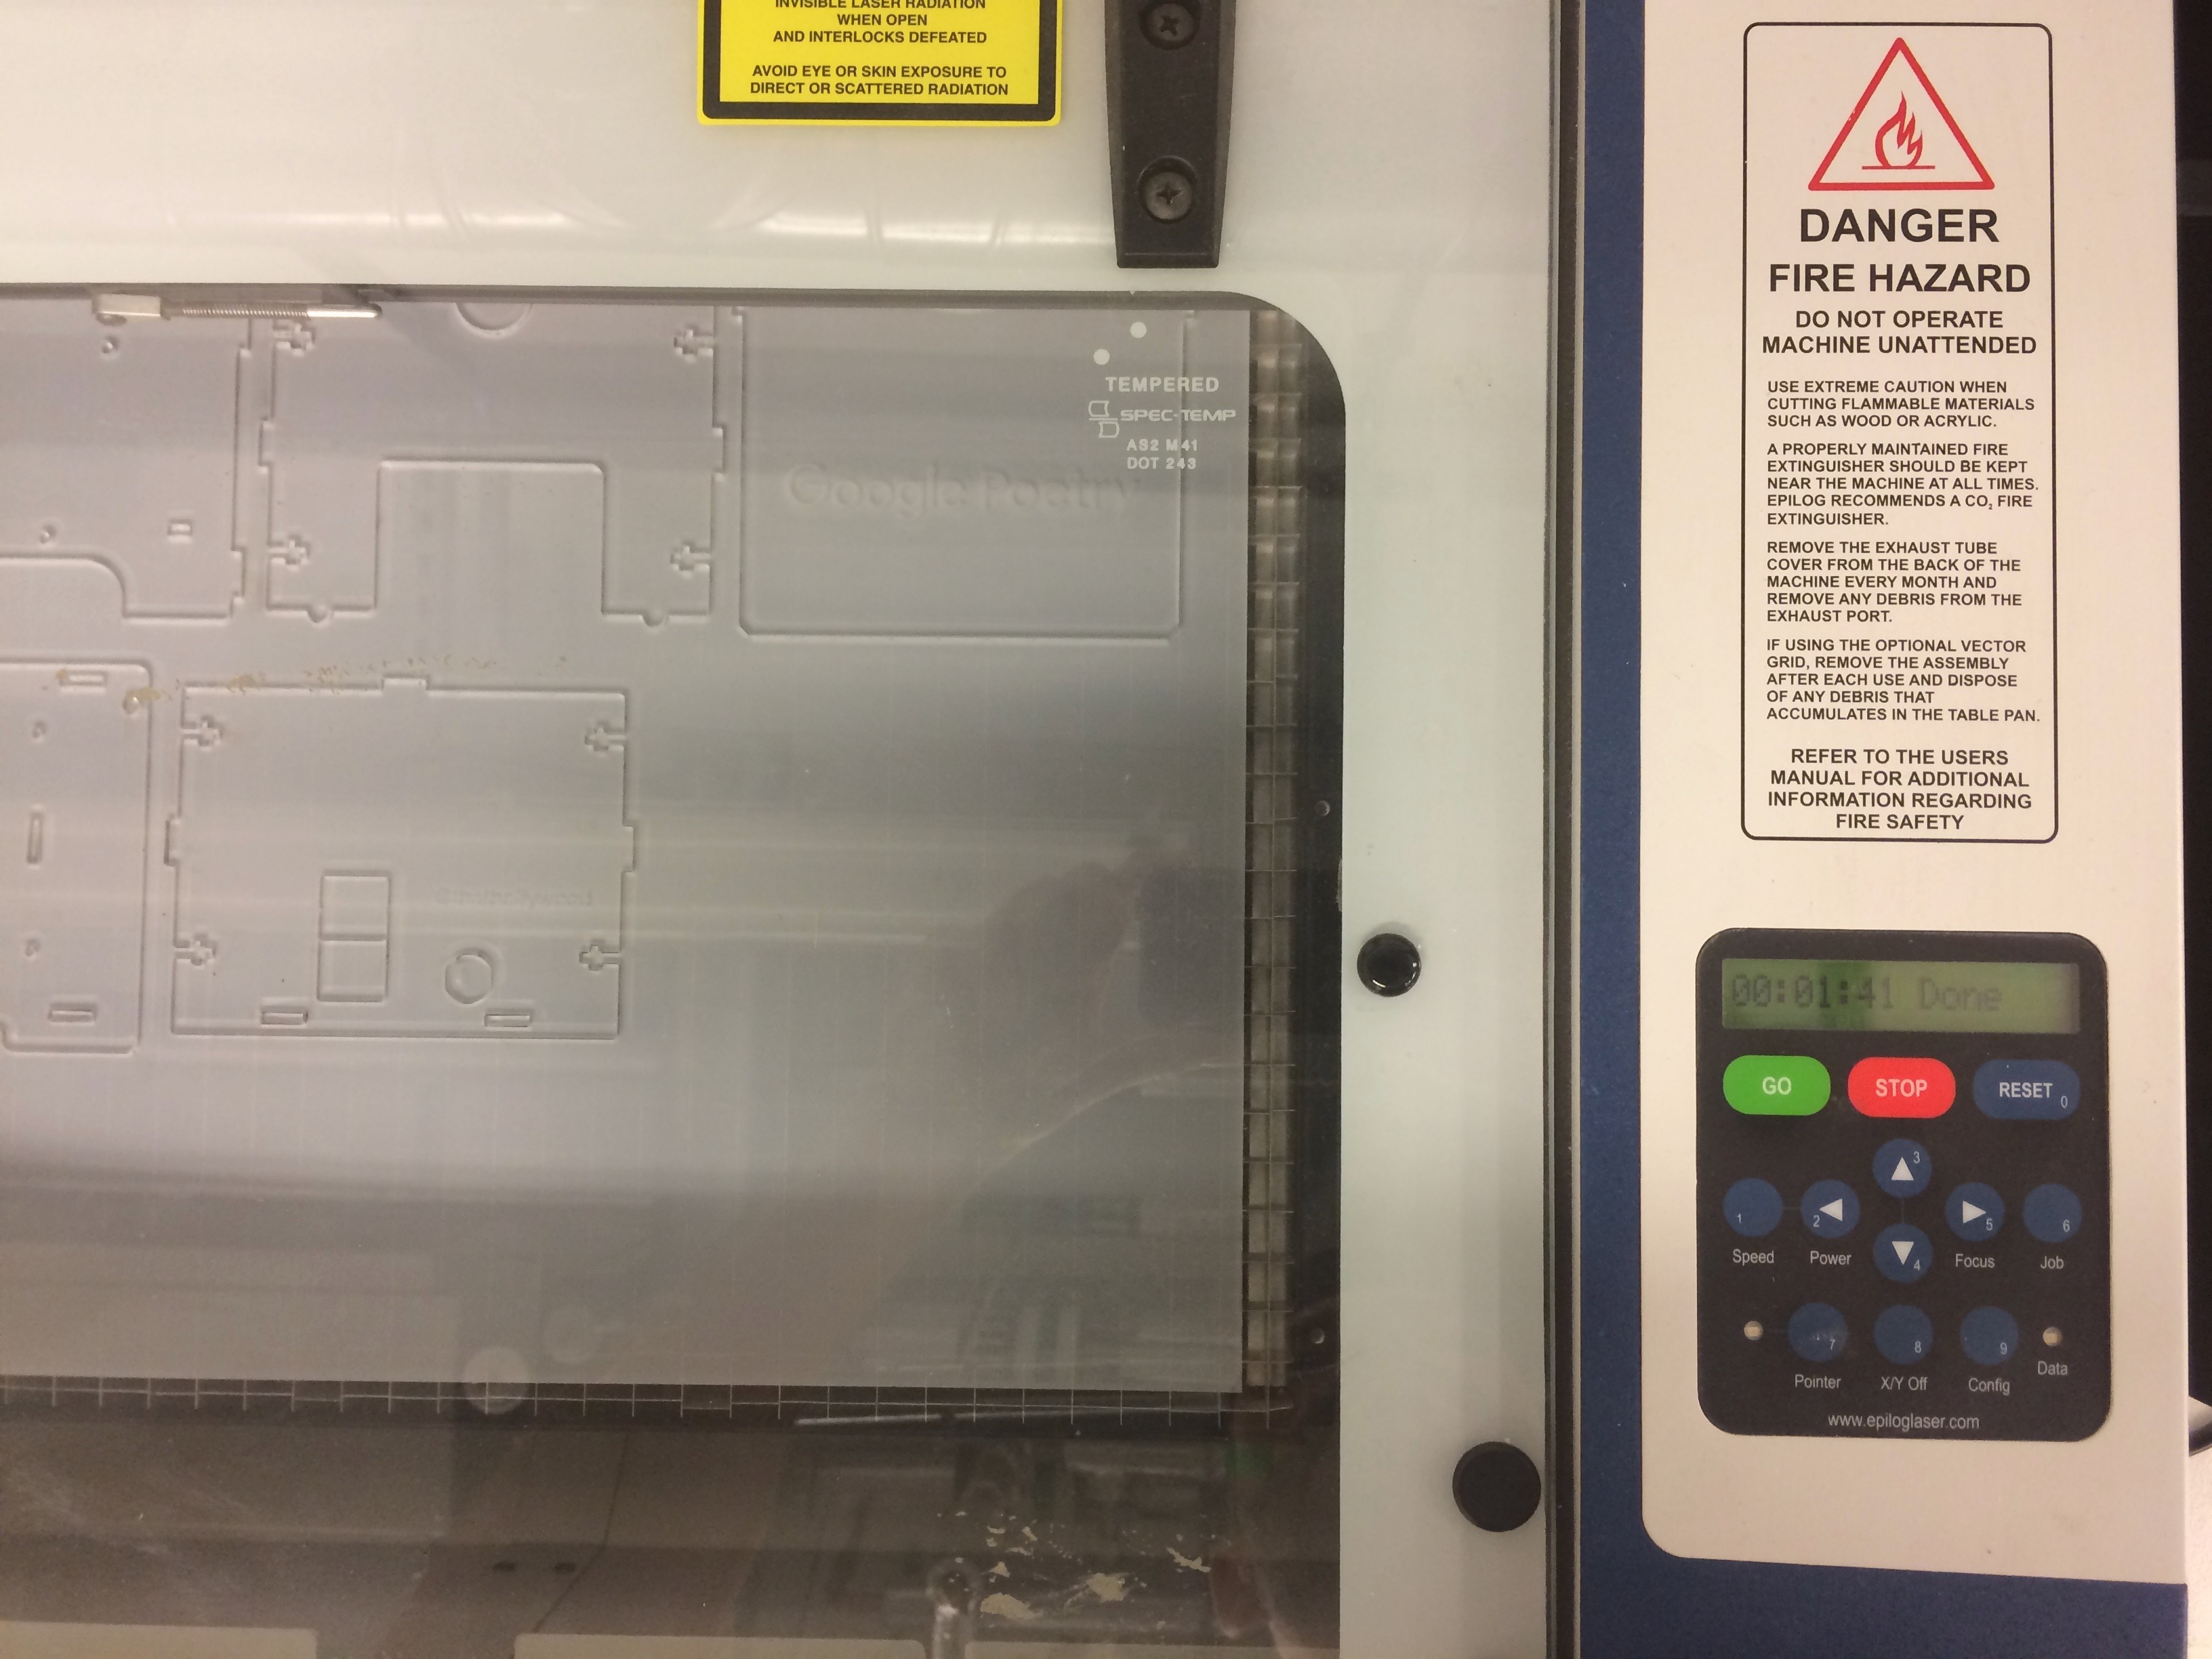
Laser cutting MDF
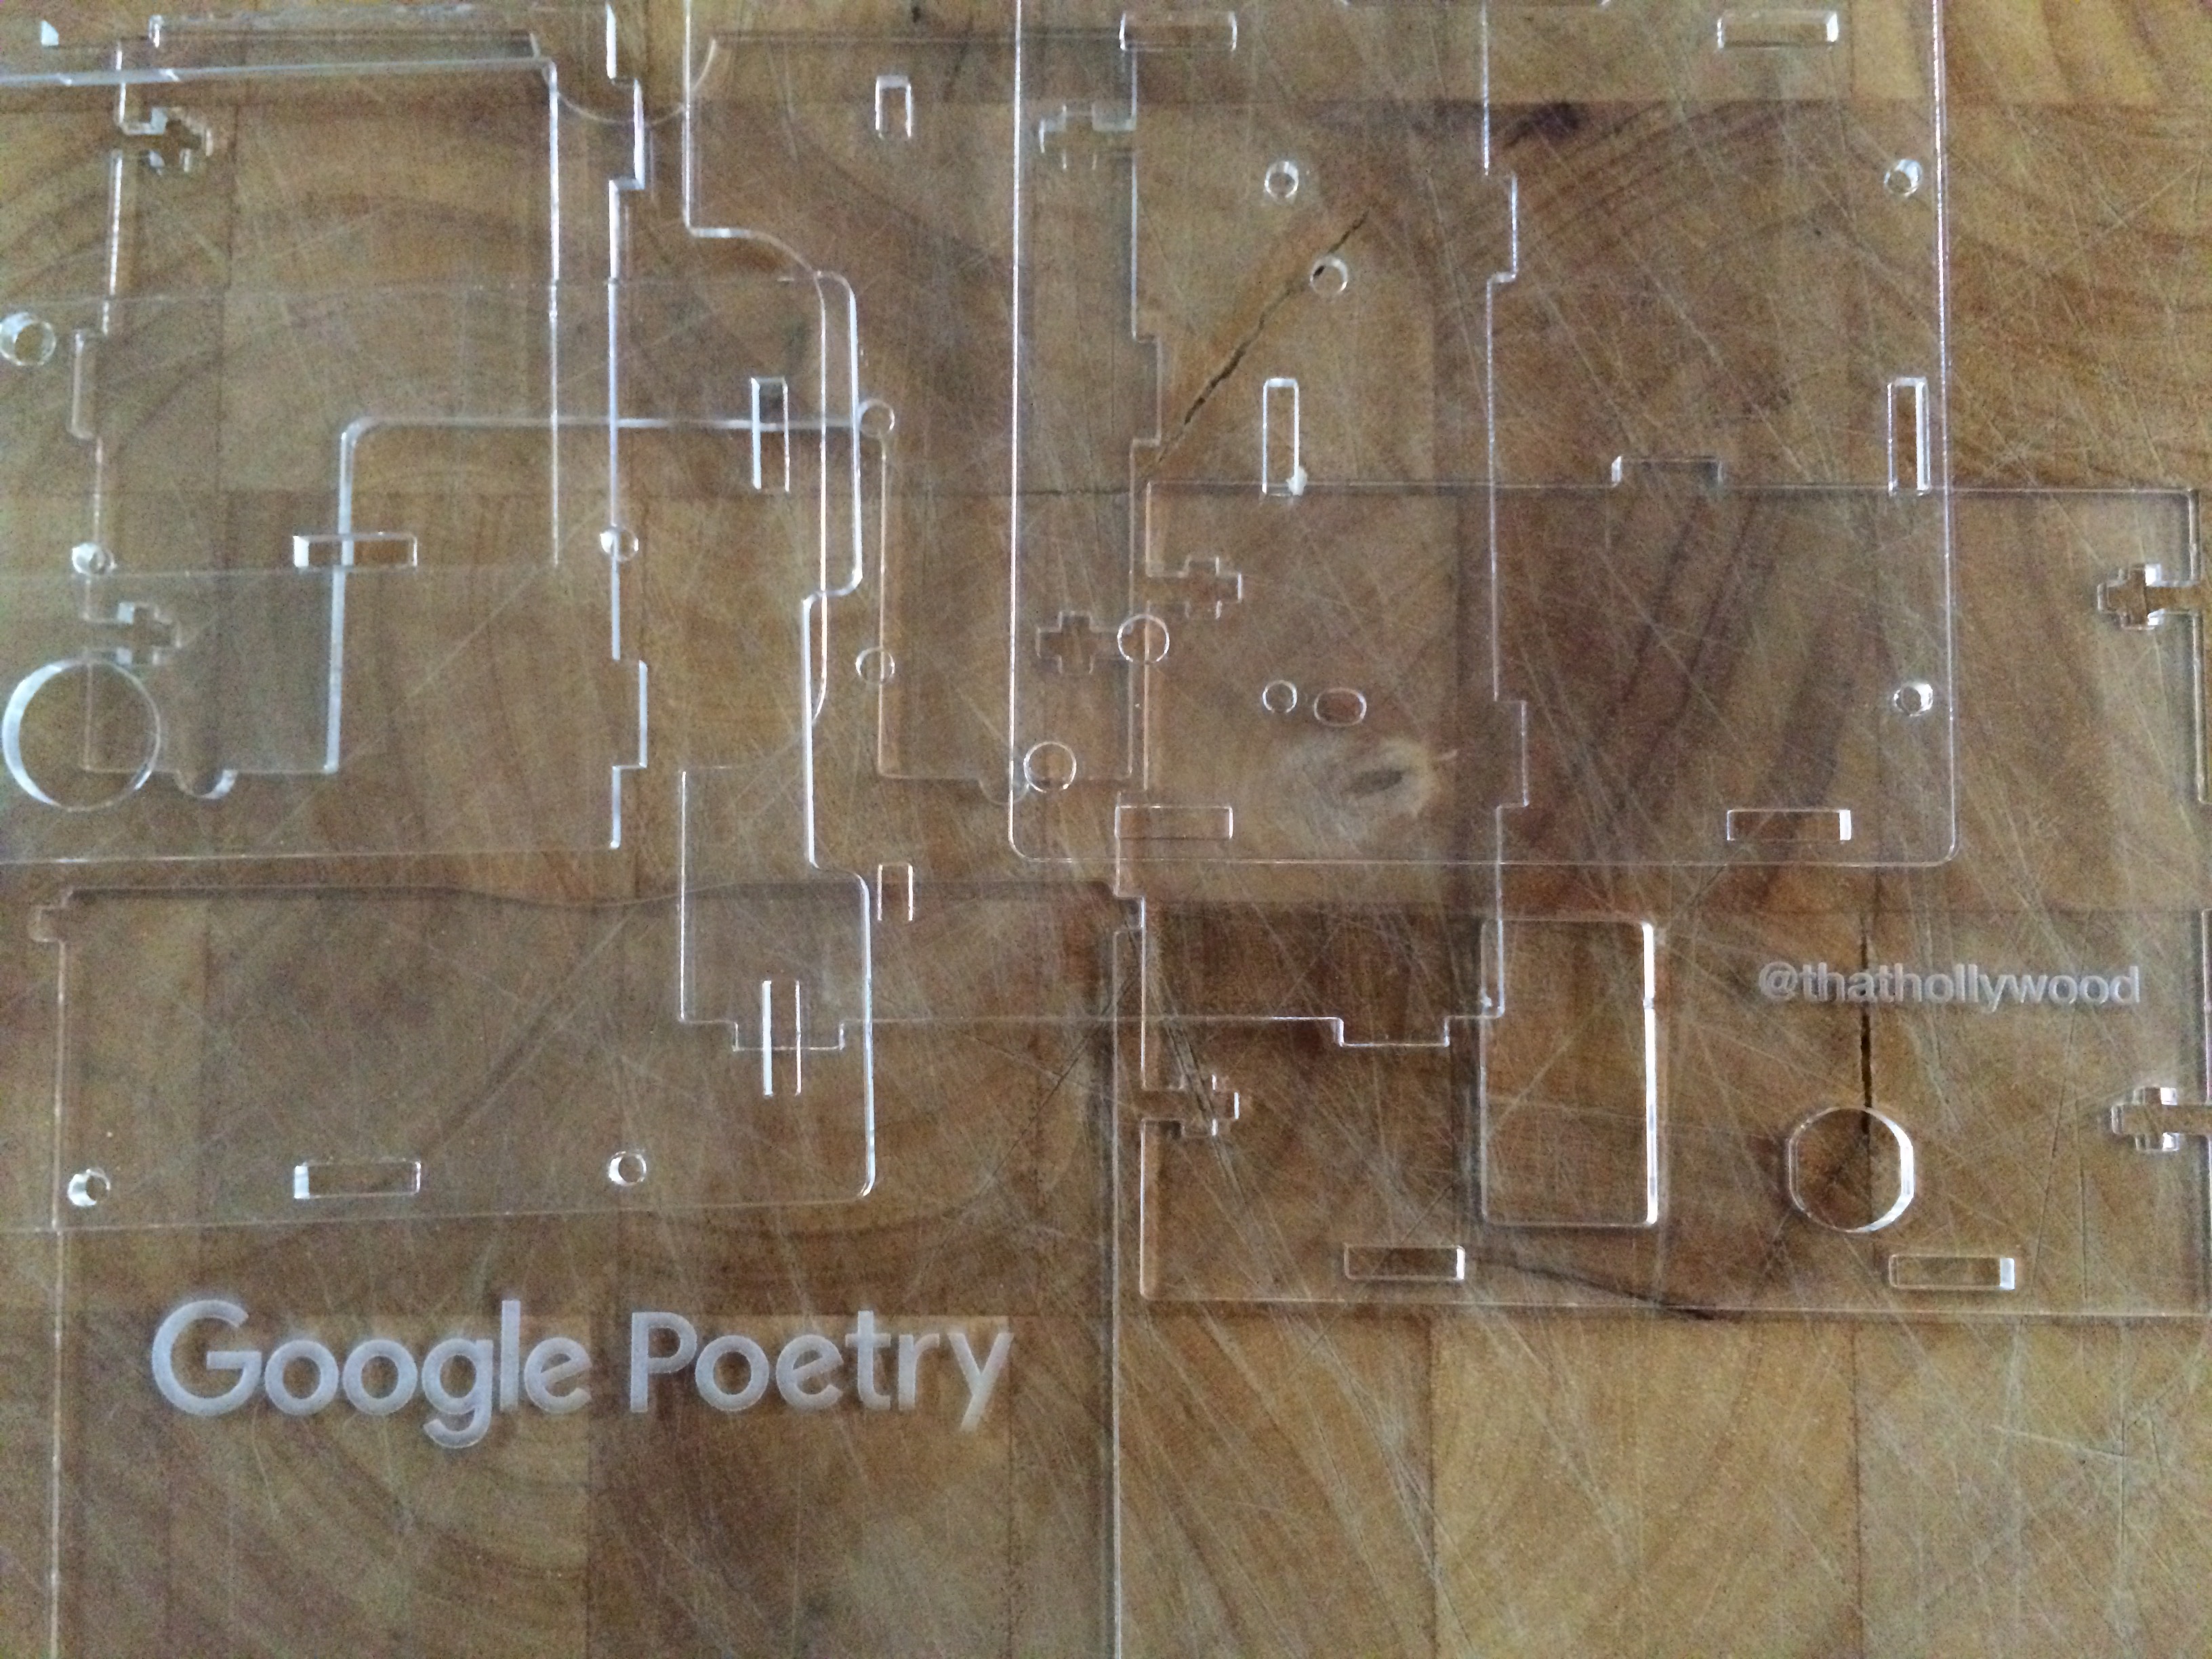
Embossing Google Poetry logo on perspex
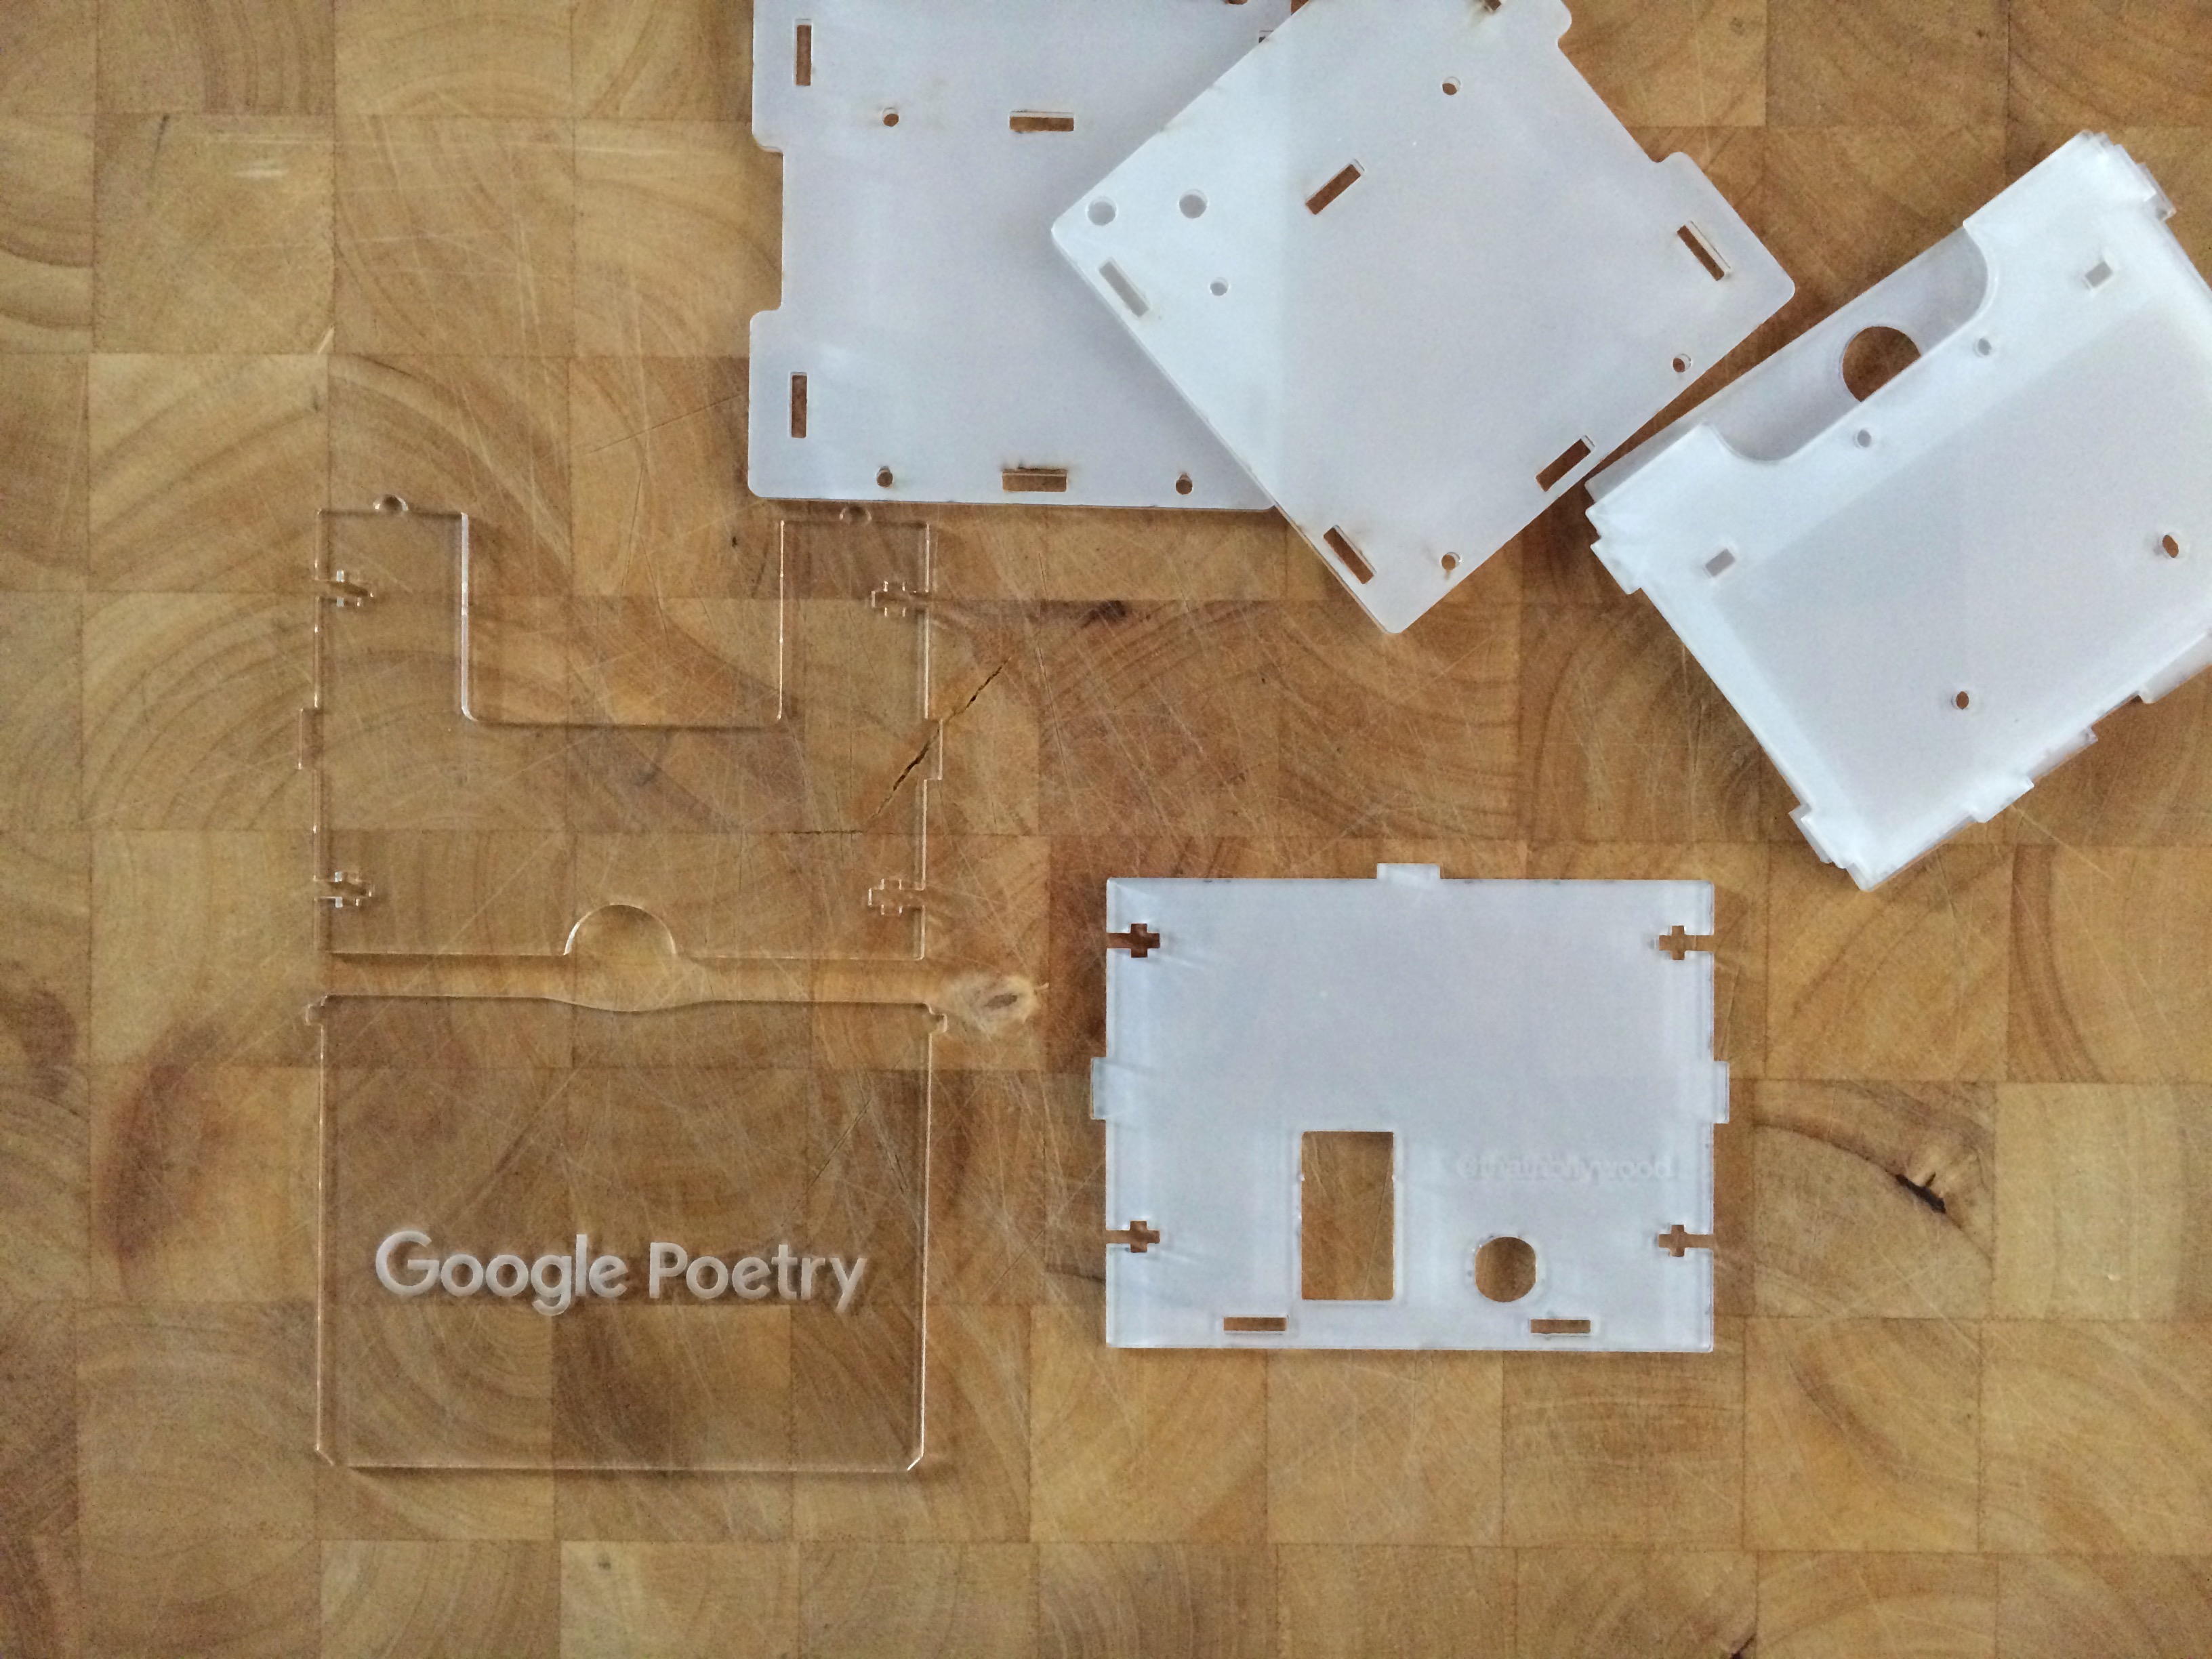
Cutting in both MDF and Perspex on a Zing laser wasn’t just an excuse to have more than one enclosure but a way of comparing the two materials and any intricacies inherent in each.
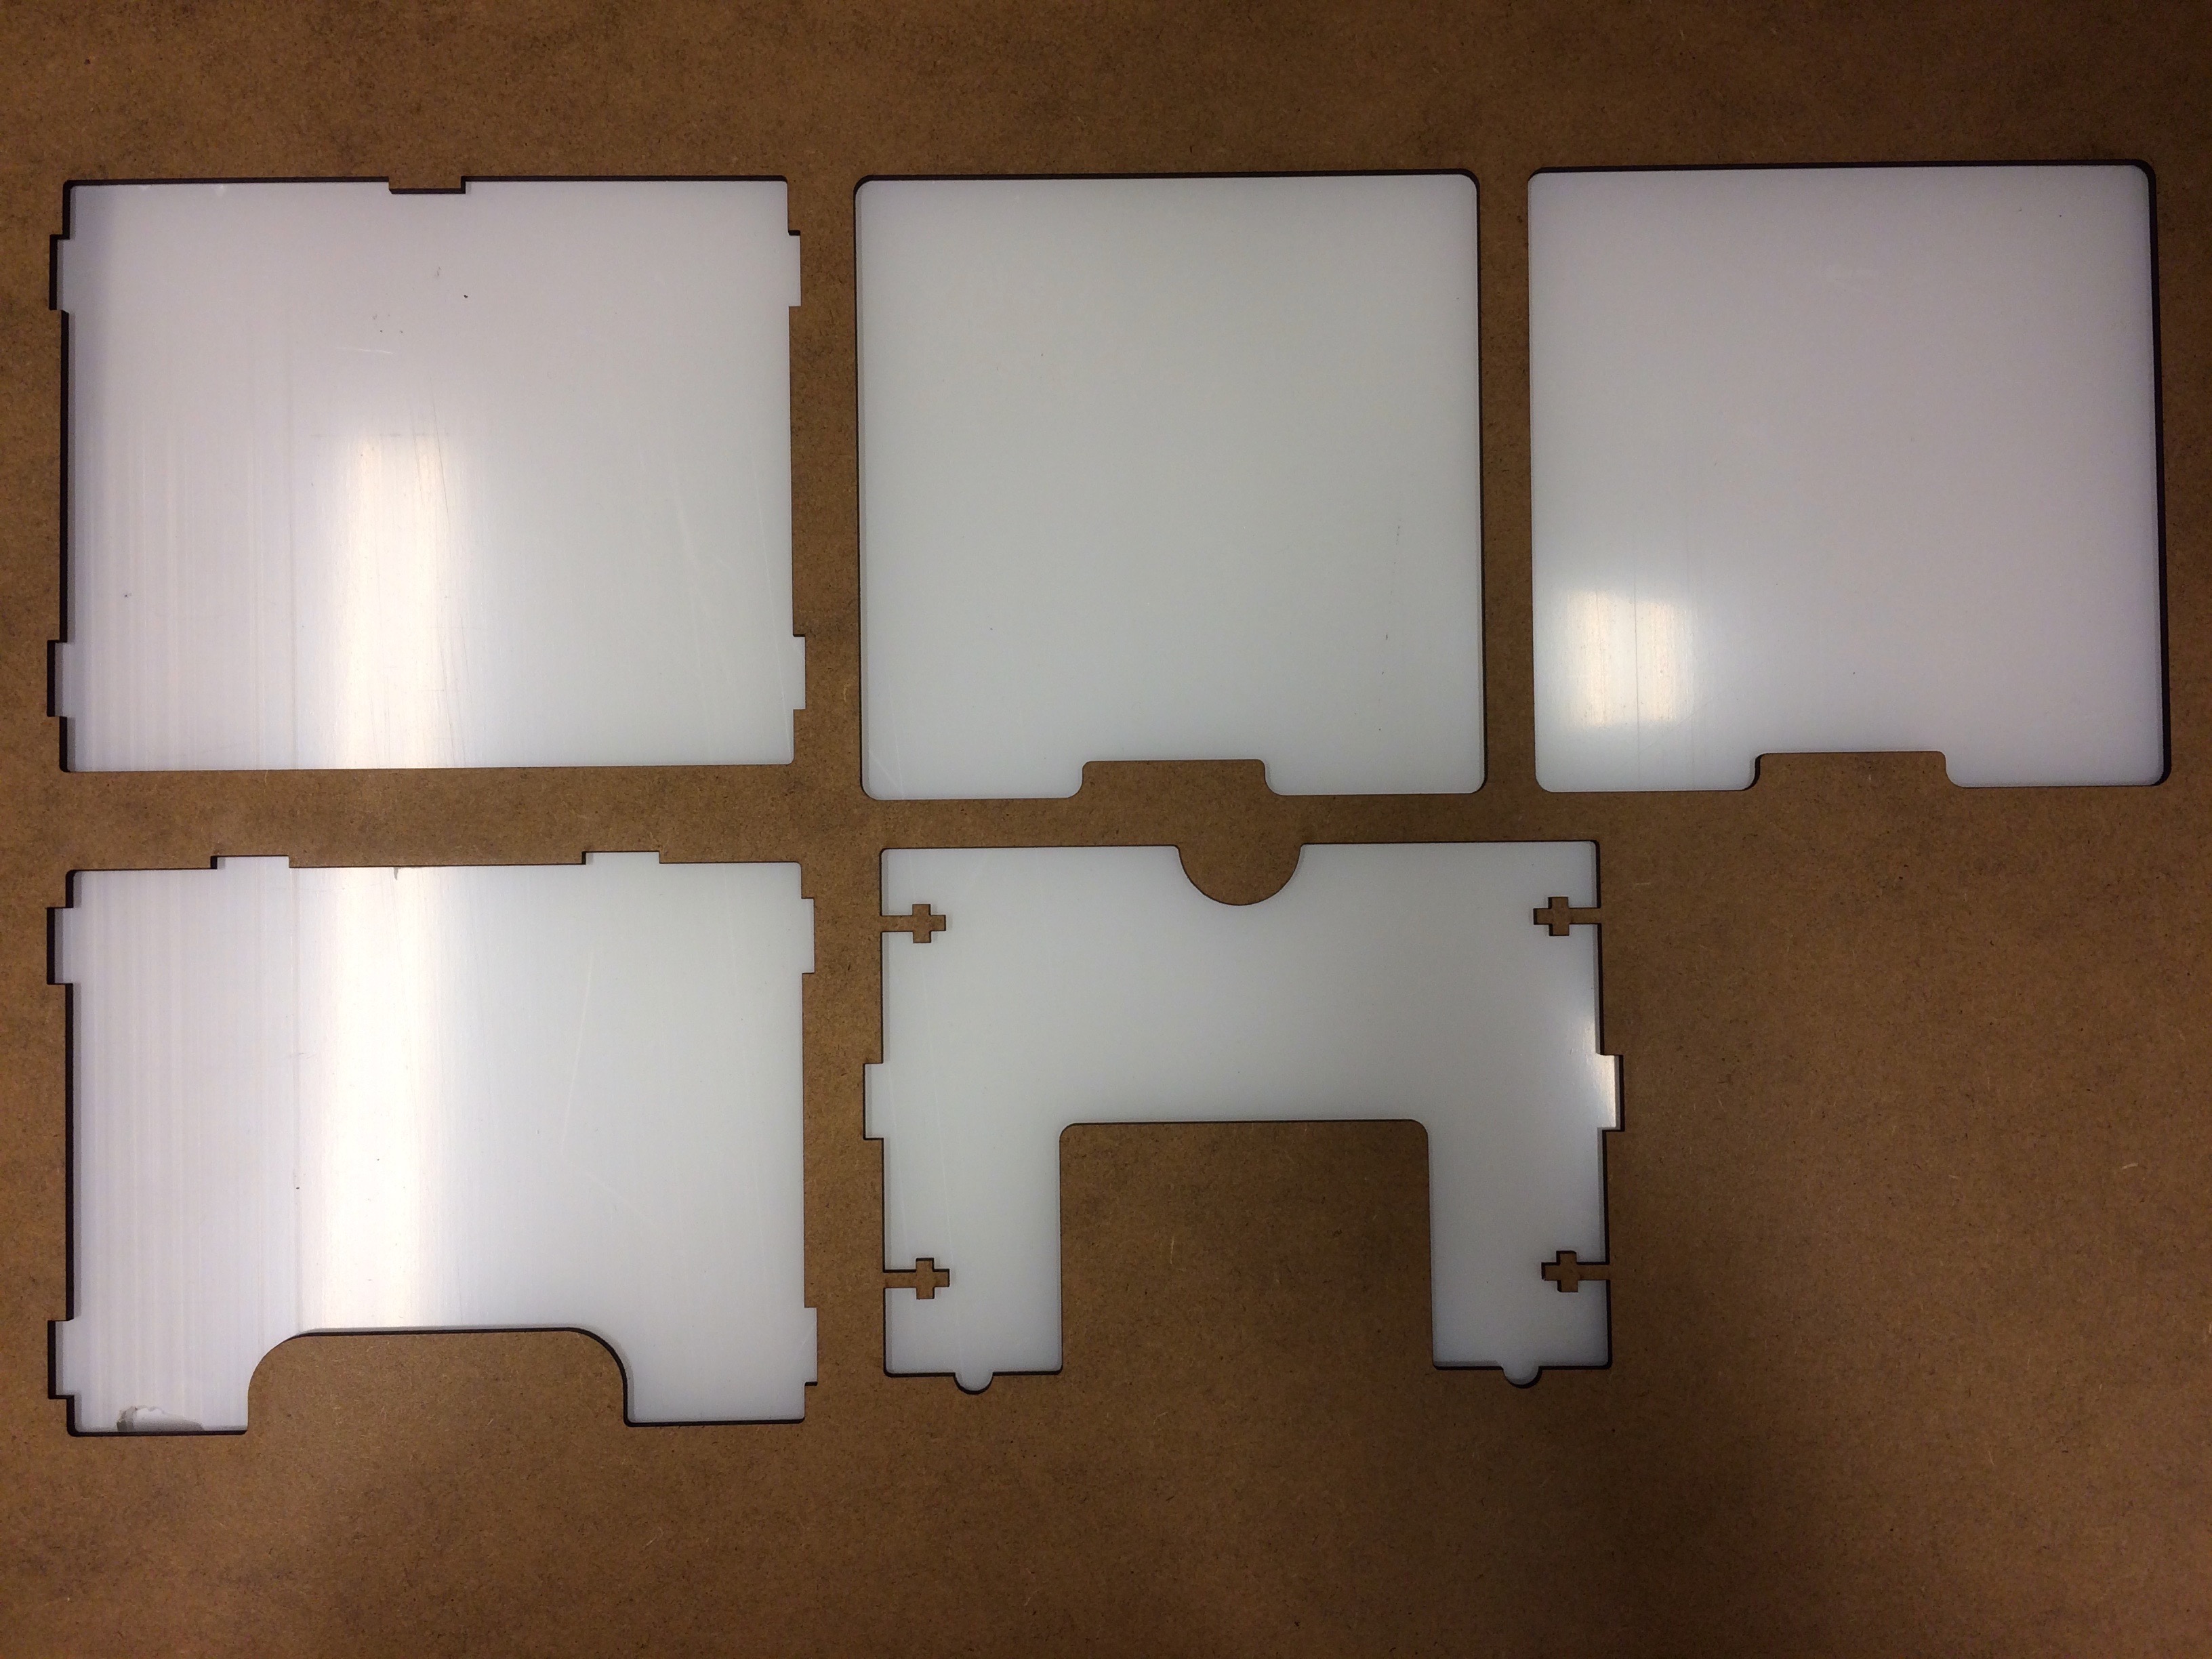
3mm MDF
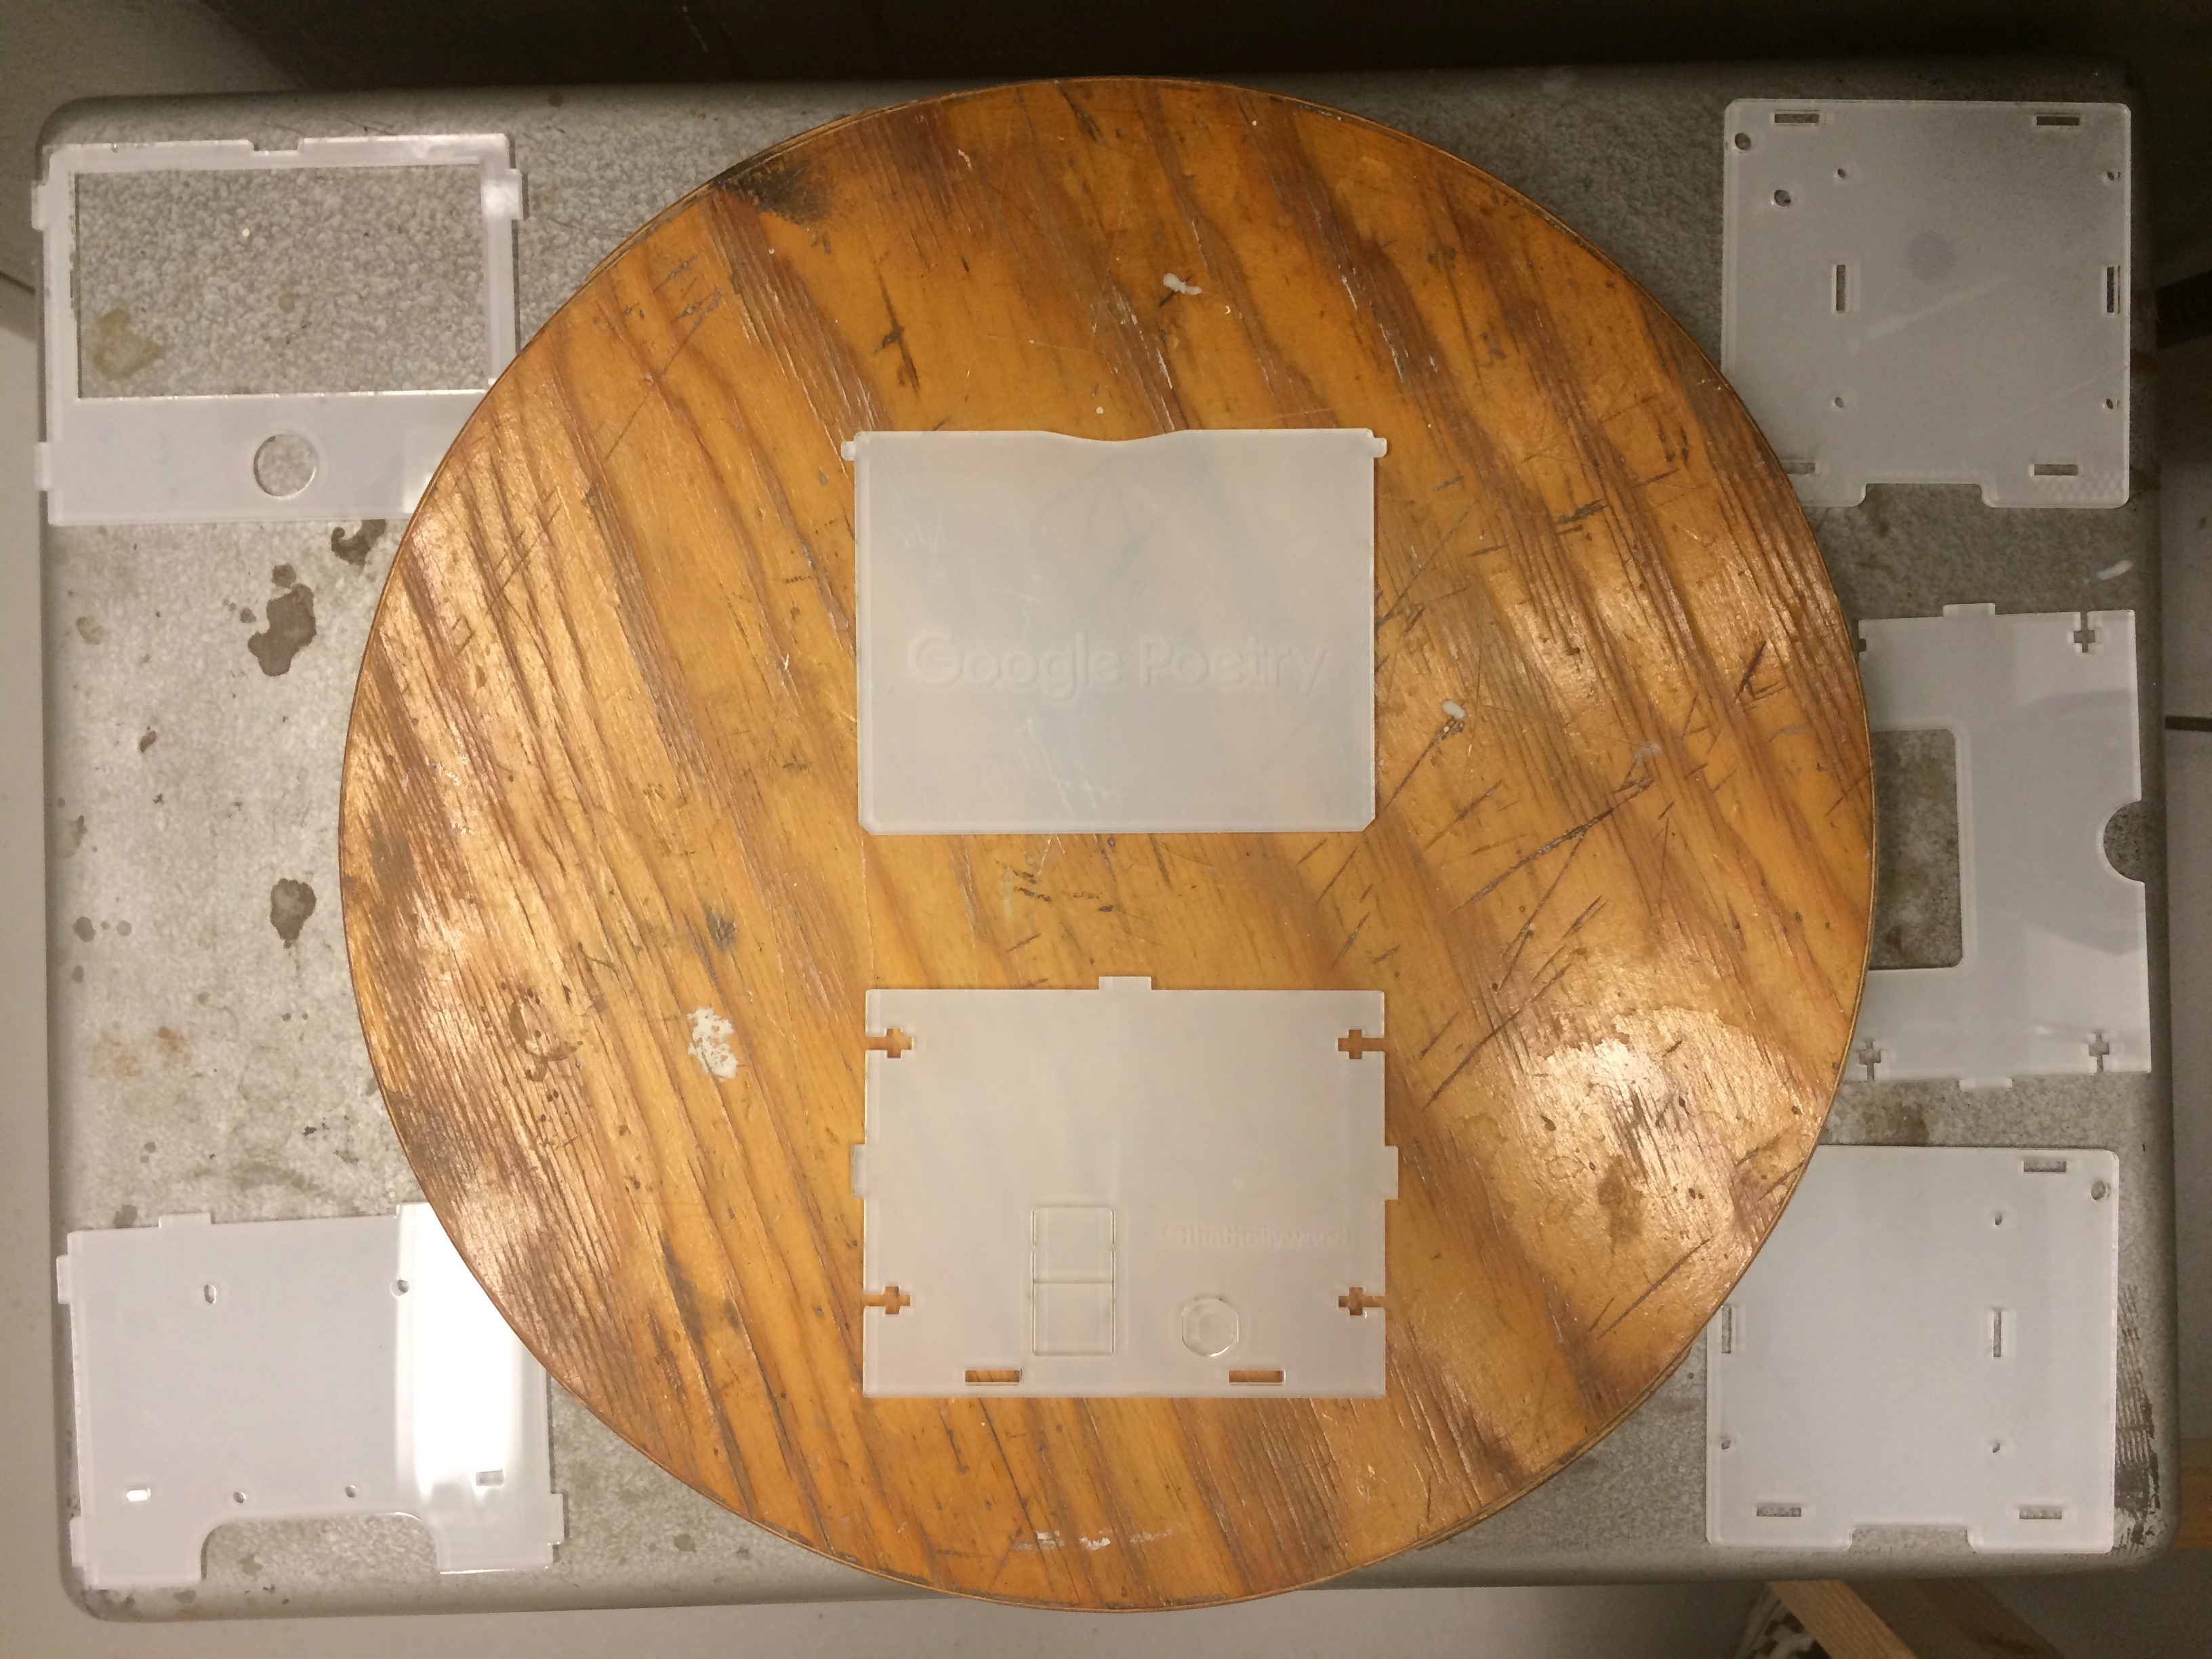
2mm Perspex – this required additional changes to the EPS file to allow for the thinner material.
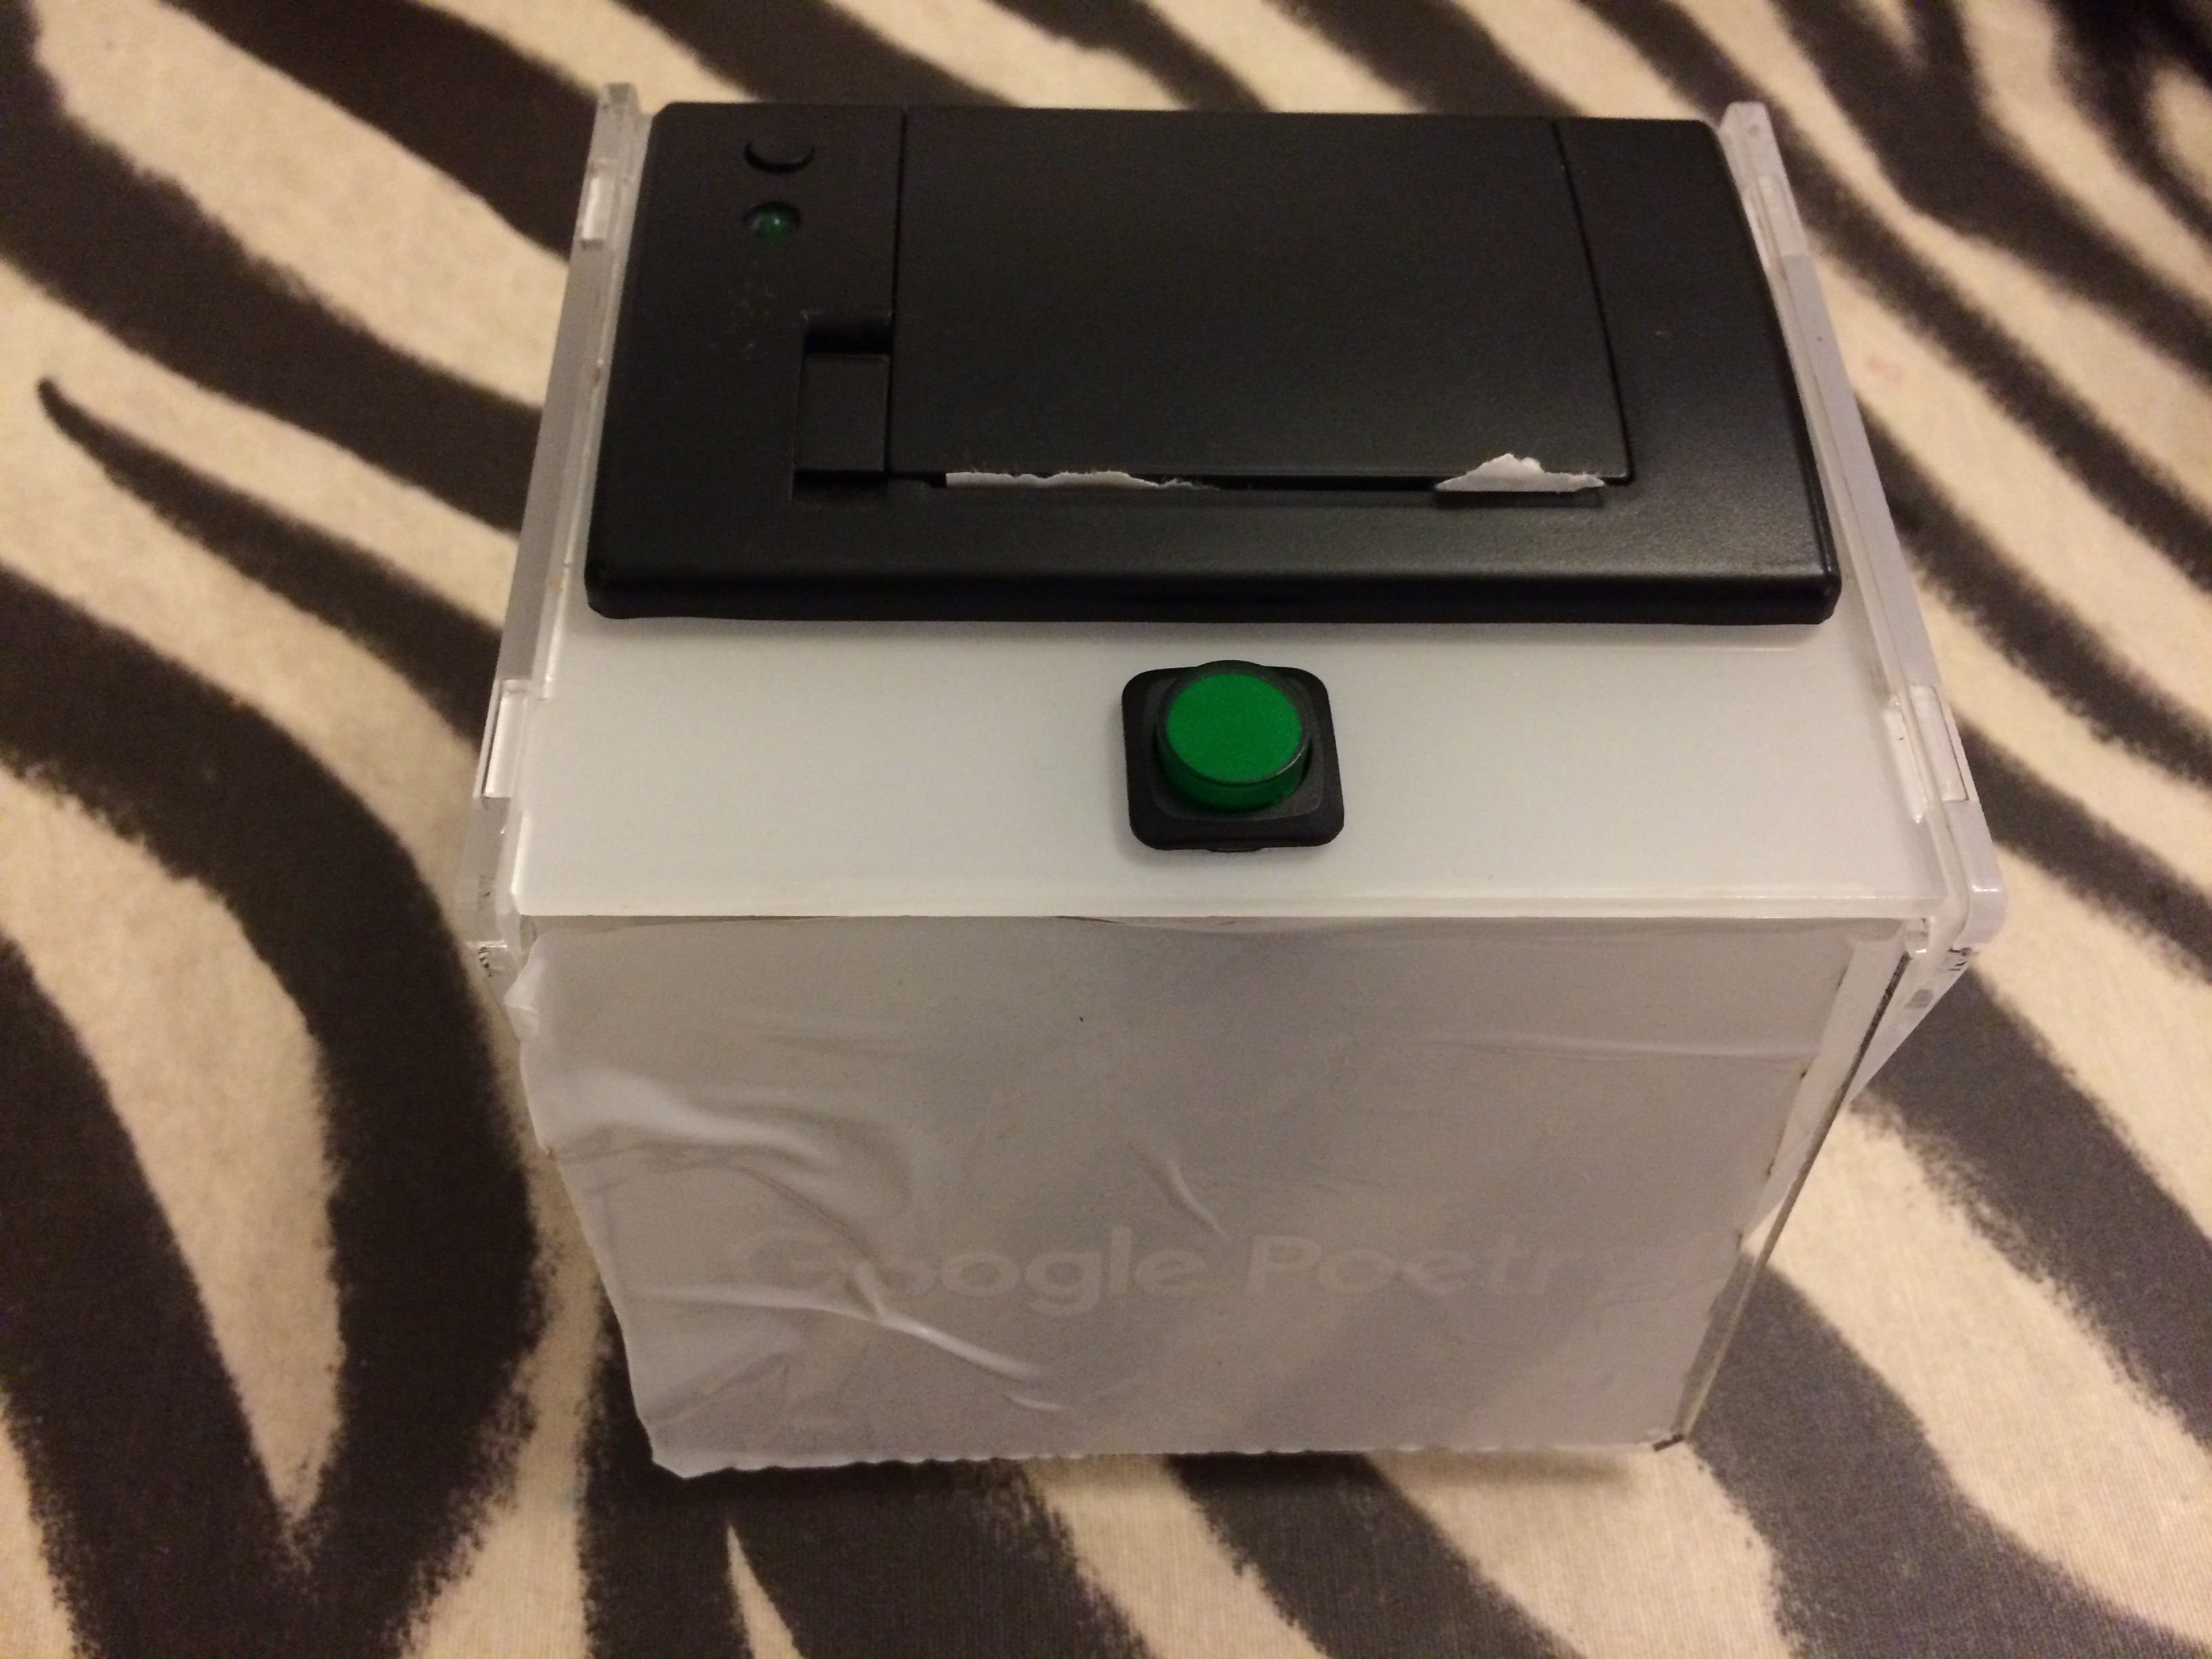
I’ll add the finished products in my next post but here I checked the printer and button fitted.
I was delighted to find the process faster and less intimidating than I had originally thought. However, I have come away with better understanding of what will be required when I begin to design my own cases from scratch. I forsee a lot of paper & cardboard maquettes in my future, prior to translating these measurements into Illustrator.
Since I created the Google Poetry Printer, adafruit have made a step-by-step guide to make your own IoT printer. They’ll even sell you all the parts!
Additionally, there are alternative Rasp Pi flavours out there too.
1 thought on “Making Products – Achieving Goals and Creating Permanence. Part 1”
Comments are closed.